The Float Fiasco Begins
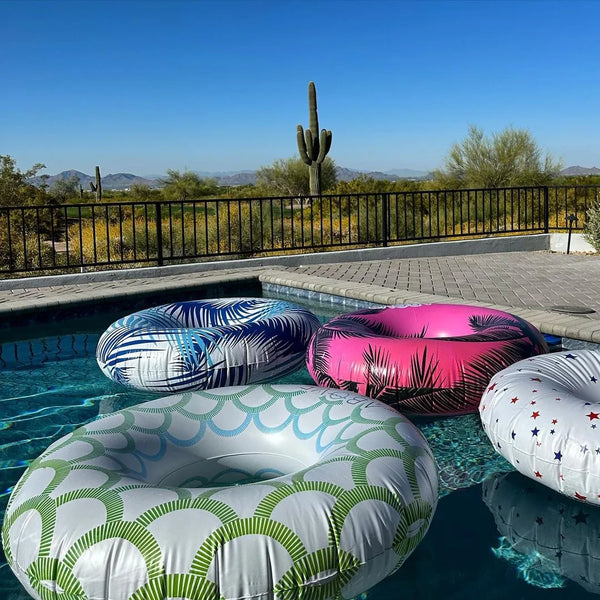
Okay guys, buckle up. My pool floats last year? Total disaster. Seriously. Bought these cute colorful tubes for the kids early summer, looking all fresh and shiny. By August? Looked like sad, deflated rags. Green stuff growing on them, leaks springing up faster than Amazon delivery. Annoying. And expensive! Threw money down the drain.
Time for Some Float Autopsy
Enough was enough. I pulled the poor, suffering floats out. Took a proper look. What a mess.
- Green Gunk Central: Tiny folds, seams – total breeding spots. Slimy surprise party on the vinyl.
- The Mystery Punctures: Found a bunch of tiny holes, mostly where the tube rubbed against the pool ladder or wall. Cheap material just gives up.
- Sunburnt and Sad: Bright colours? Faded badly. Felt brittle, like old plastic bags.
- Chemical Burn Marks: Chlorine patches? Bleach stains? Yeah. Not a good look.
Basic problem? I was just dumping them in and forgetting them. Bad move.
Operation: Rescue the New Tubes
Got new ones this year. Decided things would be different. Made a battle plan:
- Clean BEFORE Their First Dip: Yeah, sounds dumb, but washed them with gentle soap and water straight outta the box. Factory dust? Gone.
- Wet, Dry, Rotate: After every swim time? Pull them out. Give them a good rinse with fresh water. Get all traces of pool chemicals off. Flip them over so one side doesn’t get all the sun abuse, let everything dry completely before chucking them back in the water later. Takes a few extra minutes, sure.
- Full Sun = Float Killer: Made shade their best friend. Found a covered spot near the pool fence, hung a tarp – anything to keep them out of the scorching midday sun when not in use. UV rays are brutal.
- Weekly Deep Clean: Every weekend, no excuses. Big plastic tub, warm water, splash of gentle dish soap. Soaked them properly for like 10 minutes. Then wiped every inch down with a soft cloth, paying special attention to folds and creases where gunk hides. Thorough rinse afterwards – got to get all the soap off.
- Storage? Think Bat Cave, Not Attic: End of season? Made sure they were totally bone dry. I mean, really dry. Stuffed them loosely in big plastic bins and stuck them in the cool, dark basement corner. None of that garage nonsense.
The Proof is in the Plastic
It felt like extra work sometimes, won’t lie. Hosing them down, finding shade. But you know what? We’re deep into summer now. Those new floats? They look practically new still. No leaks. No funky smells. Colours are holding up. Even the dog trying to jump on them only left a scratch, not a full puncture! Guess basic cleaning and shade make a huge difference.
Simple things, guys. Rinse them good. Get ’em dry. Hide them from the sun-beast. Toss them in the bin before winter. Floats don’t last forever, but man, you can stretch them way longer. Feels good not wasting cash.